Getting started with SHOP
This documentation presents an updated overview of available functionality in SHOP. Many of the functionalities are presented through examples, listed under the “Tutorials and examples” menu on the left. For new SHOP users, the introduction example is recommended before looking into more advanced functionality. The documentation also contains sections on the SHOP API and the different data and file formats that SHOP can parse. There are also several searchable reference tables that contain an exhaustive list of all the objects, attributes, commands, datatypes, and licenses available in SHOP. The “Publications” chapter contains some of the most relevant scientific publications related to SHOP and short-term hydropower scheduling from the SHOP team at SINTEF Energy Research in Trondheim.
Quick start
There are several ways to run SHOP (see Interacting with SHOP for all the interfaces: the standalone program, pyshop, the SHOP server and the C++ API). This page covers the three most common ones:
In vLab, the SINTEF Virtual Lab in the browser, where SHOP, pyshop and the license are ready to use. Nothing to install, and every example in this documentation opens there with one click. Recommended for new users.
Locally with pyshop: install pyshop from PyPI and download the SHOP binaries and your license from the SHOP portal.
Locally in a dev container: the same as above, but in a ready-made Visual Studio Code environment with all the dependencies in place.
SHOP in vLab
vLab, the SINTEF Virtual Lab, gives you a personal JupyterLab in the cloud with SINTEF Energy’s models preinstalled. For SHOP that means the SHOP binaries, pyshop, a valid license and the common scientific Python packages, so you can start modelling right away. Your home folder is kept between sessions.
Go to https://
vlab .sintef .energy and log in with your sintef.energy account, the same account as for the SHOP portal. If you do not have one, register from the login page. On My vLab, choose SHOP and start your server. SHOP is listed when you have access to it. The first start takes about a minute.
JupyterLab opens in the browser. A short tour shows you around the first time, and the welcome folder has a notebook that fetches the SHOP examples from this documentation.
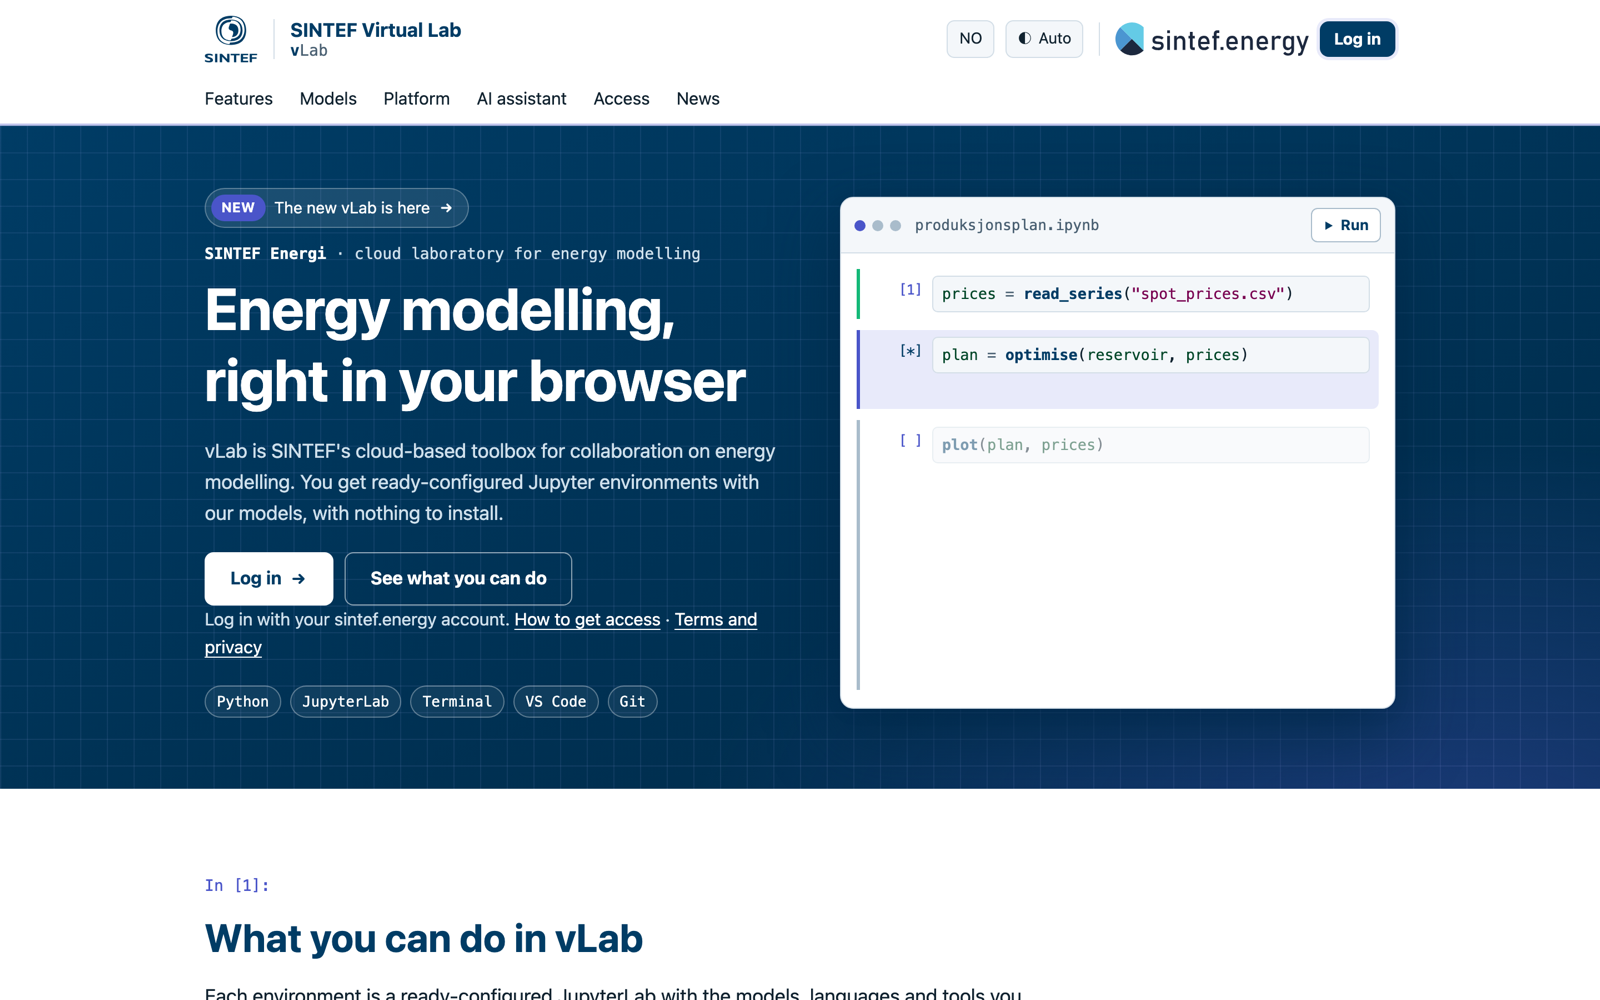
Step 1: the vLab front page. Log in with your sintef.energy account.
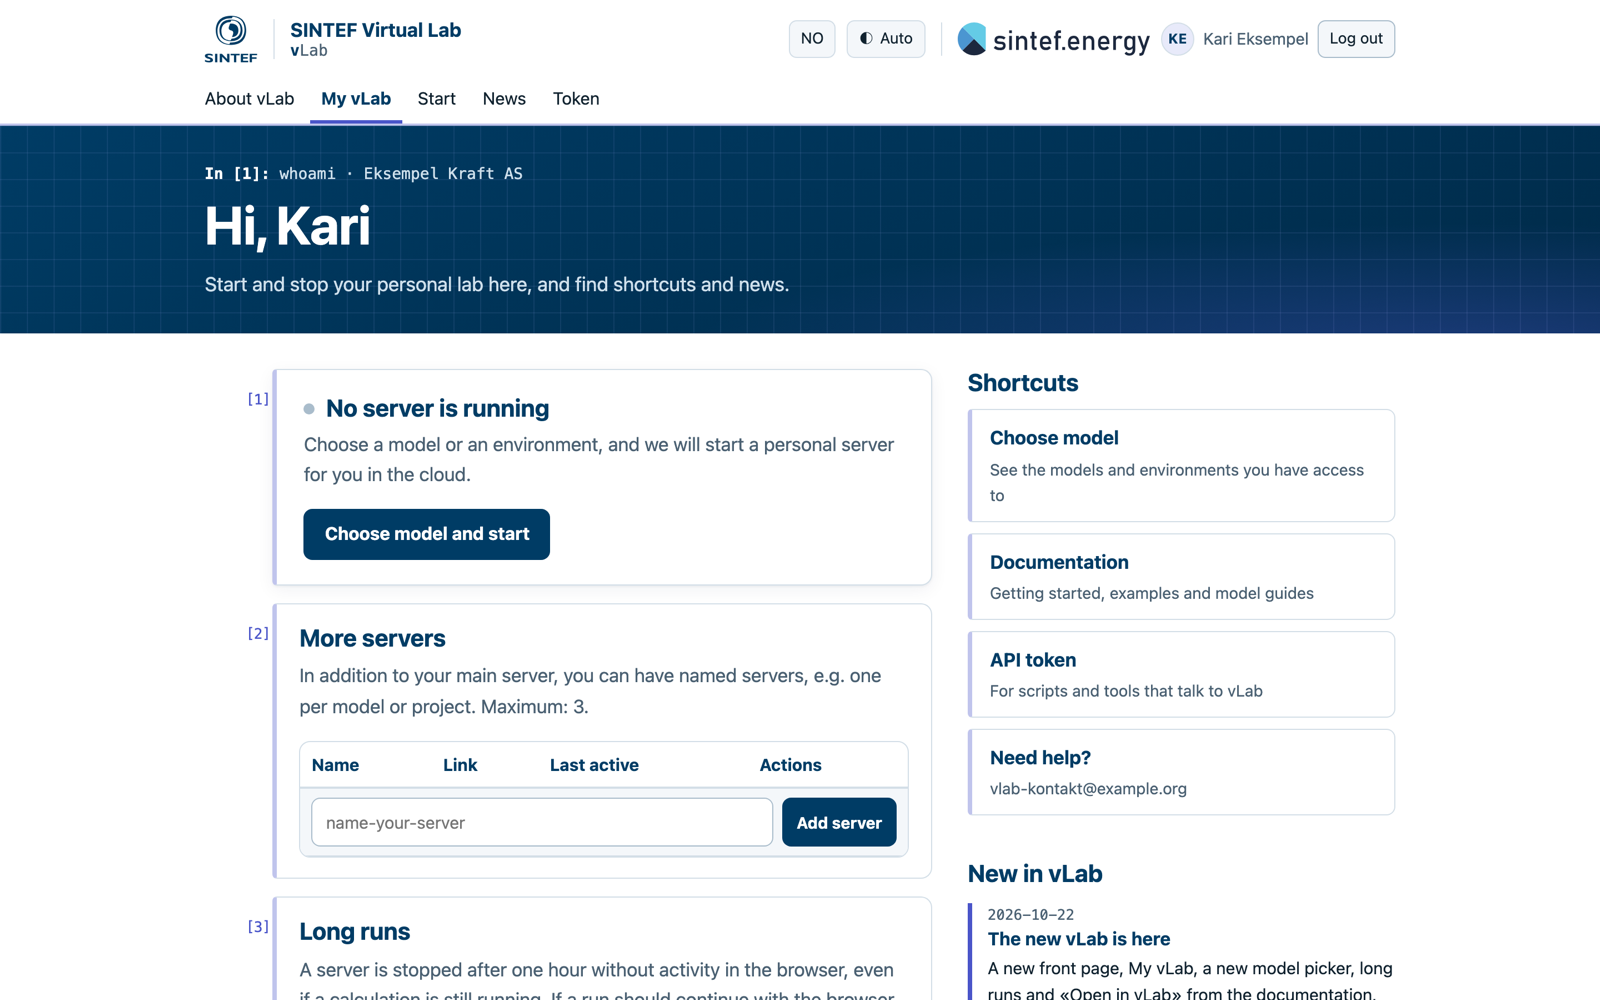
Step 2: My vLab, start and stop your server.
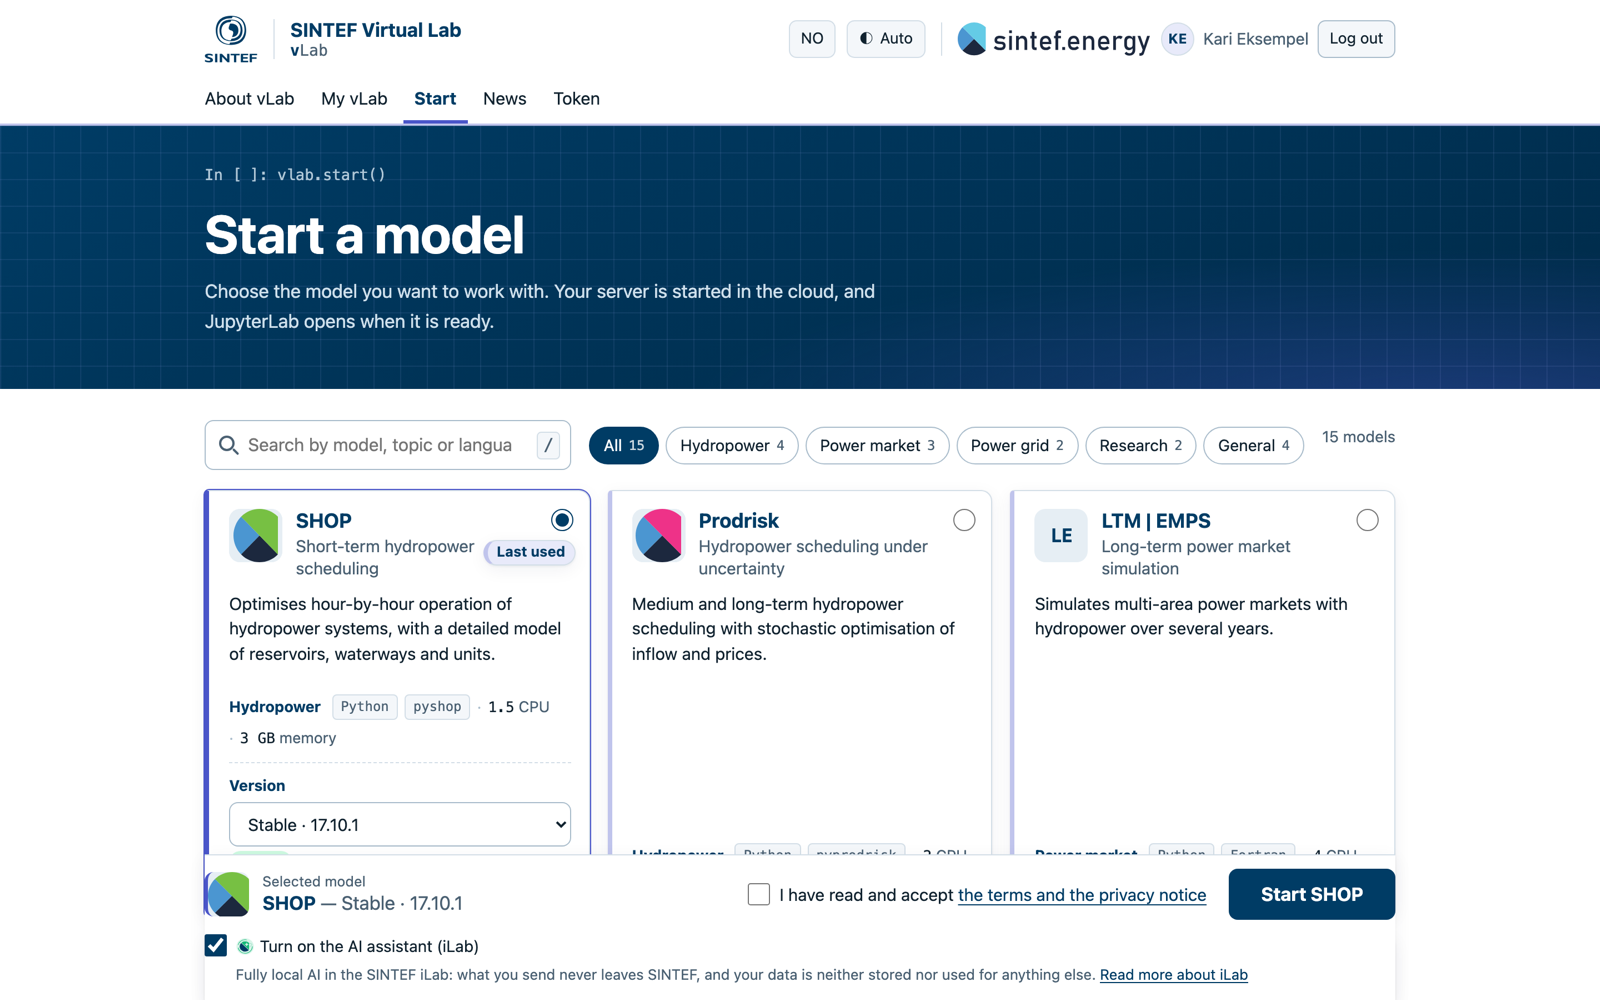
Step 3: Start a model, pick SHOP, accept the terms and choose whether the iLab Assistant is on.
Click an image to see it in full size.
Open in vLab
Every example page in this documentation has an Open in vLab button at the top. Click it: vLab starts SHOP for you if it is not already running, copies the examples into the folder shop-docs in your home folder (shop-docs-dev when you come from the preview site dev
The Open in vLab button at the top of every example page.
The introduction example opened in vLab, ready to run.
The examples are Markdown notebooks (MyST) that follow the documentation. Clicking the button again updates your copy and may reset files you have changed, so copy an example out of shop-docs before you build your own work on it.
The iLab Assistant
vLab comes with an AI assistant, the iLab Assistant, in the chat panel in JupyterLab. It runs on iLab, the SINTEF Intelligence Lab, an AI platform on SINTEF’s own hardware in Trondheim. What you send stays at SINTEF: nothing goes to external AI providers, and your data is neither stored nor used for training.
In the SHOP environment the assistant knows SHOP. It looks things up in this documentation (objects, attributes, commands, examples and release notes) and gives the sources with its answers. It can also read and edit your notebooks, run cells and work with your files when you ask it to. You choose whether the assistant is on each time you start your server. The same models are available from Python through the preconfigured OpenAI-compatible client and the %%ai ilab cell magic.
The iLab Assistant answers SHOP questions with sources from this documentation.
More in vLab
VS Code in the browser, from the JupyterLab launcher, for larger projects.
Git with a graphical panel and notebook diffs, and Jupytext, so
.mdand.pyfiles open as notebooks.Voilà to show a notebook as a dashboard, plotly for interactive plots, and PDF export of notebooks.
Memory and CPU use against your limits in the status bar.
The Launcher: notebooks, consoles, VS Code and a terminal.
vLab is one of SINTEF Energy’s labs at sintef.energy, together with iLab and uLab, where the models run without code (under development).
Happy coding!
Running SHOP locally
If you prefer to run SHOP on your own computer:
Install pyshop with
pip install sintef-pyshop. See pyshop for supported Python versions and platform notes.Download the SHOP binaries and generate your license in the SHOP portal.
Tell SHOP where to find them with
SHOP_BINARY_PATHandSHOP_LICENSE_PATH, see Environment variables.
The examples in this documentation are in the public repository https://
Run SHOP locally using Visual Studio Dev Containers
Visual Studio Dev Containers lets you run a fully functional development environment using Docker and Visual Studio Code. The pyshop team publishes a ready-made container image with Python 3.13 and pyshop on Debian 13, so you only add the SHOP binaries and your license.
Installation
Install Visual Studio Code and its Dev Containers extension. Both are free.
Install Docker: Docker Desktop (might require a paid license depending on your organization), or a free alternative such as Podman.
Setup
In the folder for your project, create a folder called
.devcontainerwith a file calleddevcontainer.json:
Paste this into
devcontainer.json:{ "name": "SHOP", "image": "gitlab.sintef.no:5050/energy/shop/pyshop/devcontainer:latest", "containerUser": "vscode", "customizations": { "vscode": { "extensions": ["ms-python.python", "ms-toolsai.jupyter"] } }, "containerEnv": { "SHOP_BINARY_PATH": "${containerWorkspaceFolder}/bin", "SHOP_LICENSE_PATH": "${containerWorkspaceFolder}/bin" } }The image is public and contains Python 3.13 and pyshop with its dependencies. The two environment variables point SHOP to the
binfolder, also when a notebook lives in a subfolder.Download the Debian 13 build of SHOP from the SHOP portal and generate your license. Create a folder called
binin your project and put the library files from the release (libshop_*.so,libcplex*.soandshop_pybind*.so) and your license file there:my-project/ ├── .devcontainer/ │ └── devcontainer.json ├── bin/ │ ├── SHOP_license.dat │ ├── libcplex<version>.so │ ├── libshop_cplex_interface.so │ ├── … │ └── shop_pybind.abi3.so └── my_model.ipynbThe Python binding is a single stable-ABI file that works with all supported Python versions, see Python bindings backend.
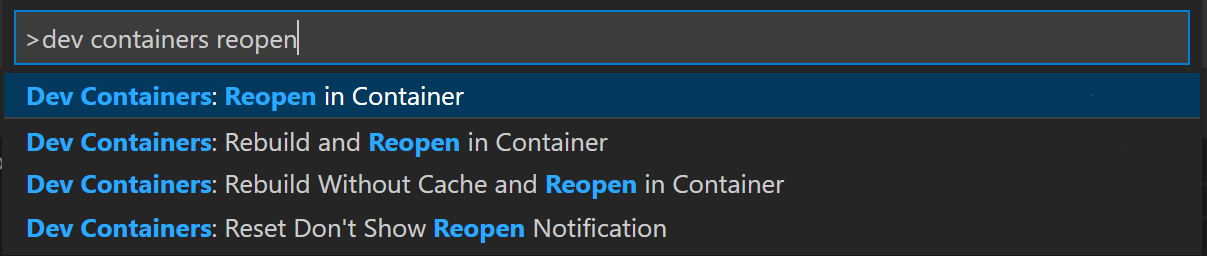
Run Dev Containers: Reopen in Container from the command palette:
Check the setup in a notebook or a Python console in the container:
from pyshop import ShopSession
shop = ShopSession()
print(shop.get_shop_version())
More in-depth guides on how to customize dev containers can be found in the dev container documentation.